Surface finish refers to the characteristics and qualities of a material’s outer surface. It includes texture, appearance, roughness, and glossiness. Achieving the desired surface finish in CNC machining ensures functional performance, aesthetics, dimensional accuracy, and compatibility with other parts or post-processing operations. It contributes to the machined components or products’ overall quality, reliability, and success.
In this article, readers can learn about the basic concepts, measurement, and different types of surface finishes and how to achieve the desired surface finish for their specific application. Manufacturers can optimize their processes to produce high-quality parts and components with this knowledge.

How to Define the Surface Finish?
Surface finish is typically defined by parameters that quantify the surface’s texture, smoothness, or roughness. These parameters can be measured using specialized instruments and techniques. The most commonly used parameter to describe surface finish is roughness.
1. Roughness refers to how bumpy or uneven a surface is. It can be measured using different parameters like average roughness or peak-to-valley height.
2. Smoothness: Smoothness describes how even and polished a surface appears. A smooth surface feels sleek and has fewer imperfections.
3. Texture: Texture refers to the physical feel or pattern on the surface. It can be rough, exemplary, or have a specific directional pattern.
4. Shape: The shape of a surface, including its flatness, roundness, or overall profile, can also contribute to the surface finish.
5. Treatment: Surface finish can be altered by grinding, polishing, coating, or plating. These treatments change the appearance and texture of the surface.
6. Standards: Industry standards and guidelines define acceptable surface finish requirements for different applications. These standards ensure consistency and quality across products.
Engineers and designers determine the appropriate surface finish to meet a product’s desired appearance, function, and performance by considering these factors.
What is Surface Roughness?
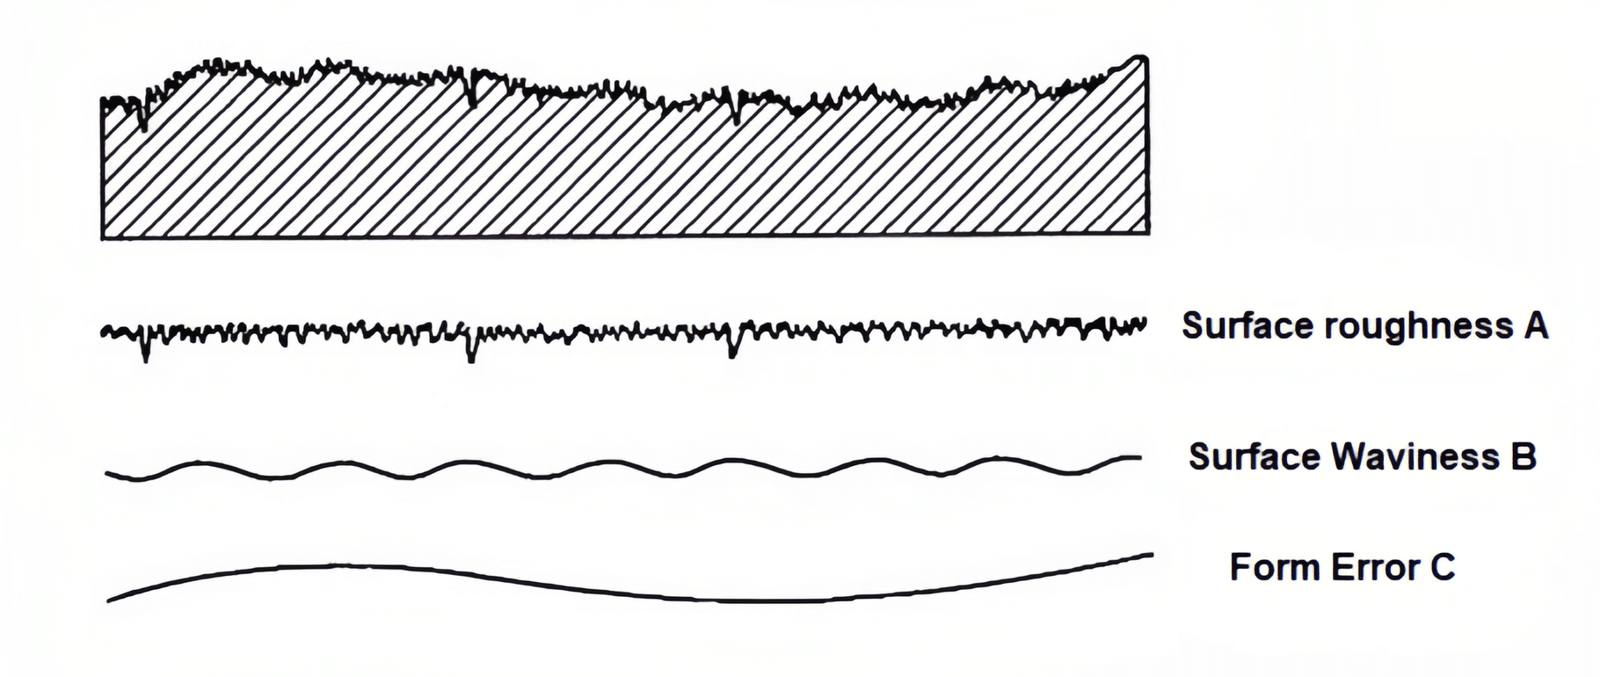
Surface roughness refers to the irregularity and roughness level on an object’s outer surface. It describes how smooth or bumpy the surface feels and looks. Surface roughness can impact various properties of an object, such as how easily it slides or wears, how shiny it appears, and other physical attributes.
Surface roughness is typically described by the height differences between the protrusions and depressions on the surface, which can be either micro or macro in size.

What are the Types of Surface Roughness Parameters?
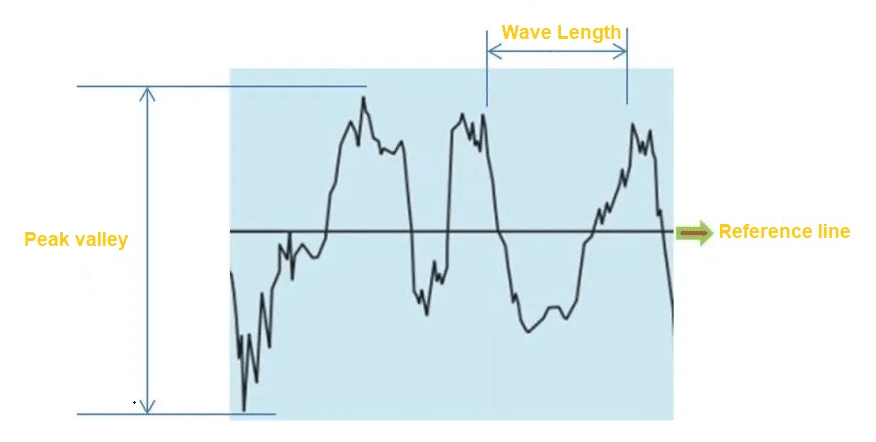
Ra (roughness avedeviations’ absolute values from the surface profile’s mean line is the mean line of the surface profile within the evaluation length. Here below is the Ra surface finish chart.

Rz (average maximum height): The average of the highest peak-to-valley heights within five sampling lengths.
Here below the surface roughness chart:

Rq (root mean square roughness): The root means square of the deviations from the mean line of the surface profile within the evaluation length.
Rt (total roughness): The vertical distance between the highest peak and the lowest valley within the evaluation length.
Rp (maximum peak height): The height of the highest peak within the evaluation length.
Rv (maximum valley depth): The depth of the lowest valley within the evaluation length.
How to Measure Surface Roughness?
Surface roughness can be measured using various techniques and instruments, depending on the workpiece’s size, shape, and material, as well as the desired level of precision. Here are some of the most common methods for measuring surface roughness.
Contact Profilometers
Contact profilometers use a stylus or probe to physically trace the surface of a workpiece and measure the height variations along the surface profile.
The resulting data can be used to calculate surface roughness parameters, such as Ra (roughness average) and Rz (average maximum height).
Non-Contact Profilometers
Non-contact profilometers use optical or laser technology to measure surface roughness without physically touching the workpiece. These instruments typically measure the intensity of reflected light or scattered laser beams to calculate surface roughness parameters.
Surface Roughness Comparators
Surface roughness comparators are physical standards that allow users to visually compare the surface finish of a workpiece to a set of known roughness values. These comparators can be useful for quickly checking surface finish in the field or shop floor.
Atomic Force Microscopy (AFM)
AFM is a high-resolution imaging technique that we can use to measure surface roughness at the nanoscale level. AFM works by scanning a sharp probe over the surface of a workpiece and measuring the forces between the probe and the surface.
What are the Different Types of Comparators?
Comparators are devices used to measure the surface roughness of a part or component. There are several types of comparators, including:
Visual Comparators: These are simple, low-cost devices that use a set of reference samples with known surface roughness to visually compare against the same surface roughness samples that are being measured.
Mechanical Comparators: These use a mechanical stylus or probe to measure the surface roughness of a part. The stylus or probe is moved across the part’s surface, and the resulting movement is measured and compared to a set of reference materials and standards.
Electrical Comparators: These use an electrical probe to measure the surface roughness of a part. The probe is moved across the part’s surface, and the resulting electrical signal is measured and compared to a set of reference standards.
Optical Comparators: These use an optical system to measure the surface roughness of a part. The part is placed under a microscope or other optical system, and the surface roughness is measured by analyzing the reflected light.
Profilometers: These are high-precision instruments that use a stylus or probe to measure the surface roughness of a part. They provide highly accurate measurements and are often used in laboratory settings.
The choice of comparator type will depend on the specific application and the precision required. Visual comparators are simple and low-cost but may not provide the accuracy required for specific applications. Mechanical and electrical comparators are more precise but may be more expensive. Optical comparators and profilometers provide the highest level of accuracy but are also the most costly.
Different Surface Finish Indexes and Their Applications
Roughness average (Ra): Ra is a versatile index commonly used in the automotive, aerospace, and medical devices industries. It is used to specify the surface roughness requirements for contact surfaces, such as bearings, gears, and seals, where a low level of friction and wear is critical.
Root mean square (RMS): RMS is often used in optics and microelectronics industries to specify the precise surface roughness of precision components, such as lenses, mirrors, and semiconductor wafers. RMS provides a better representation of the surface roughness than Ra, making it suitable for critical applications requiring high precision.
Mean roughness depth (Rz): Rz is commonly used in the automotive and aerospace industries to specify the surface roughness requirements for sealing surfaces, such as cylinder liners, valve seats, and gaskets. Rz provides a measure of the depth of the surface irregularities, making it suitable for applications where sealing performance is critical.
Maximum peak-to-valley height (Rt): Rt is often used in the construction industry to specify the surface roughness requirements for concrete and masonry surfaces. It measures the largest surface irregularities, making it suitable for applications where the surface needs to be flat and level.
Centerline average roughness (CLA): CLA is commonly used in the manufacturing industry to specify desired roughness limits the surface finish requirements for machined parts and components. CLA measures the average surface roughness, making it suitable for applications where the surface needs to be smooth and uniform.
Maximum peak height (Rp): Rp is often used in the automotive industry to specify the surface roughness requirements for engine components, such as camshafts and crankshafts. Rp provides a measure of the highest peaks on the surface, making it suitable for applications where the surface needs to be wear-resistant.
What Are Exacting Surface Finish Standards?
Exacting surface finish standards are specific and stringent requirements for the surface finish in various industries. They provide guidelines and tolerances to ensure parts’ consistency, quality, and interchangeability. Examples include ISO 1302, ASME B46.1, JIS B 0601, MIL-STD-130, and industry-specific standards like automotive and aerospace. These standards define parameters such as roughness and provide measurement methods to achieve precise surface finish characteristics. Adhering to these standards ensures machined components’ functionality, quality, and compatibility.
What are the 10 Common Surface Finishes?
1. Smooth Finish
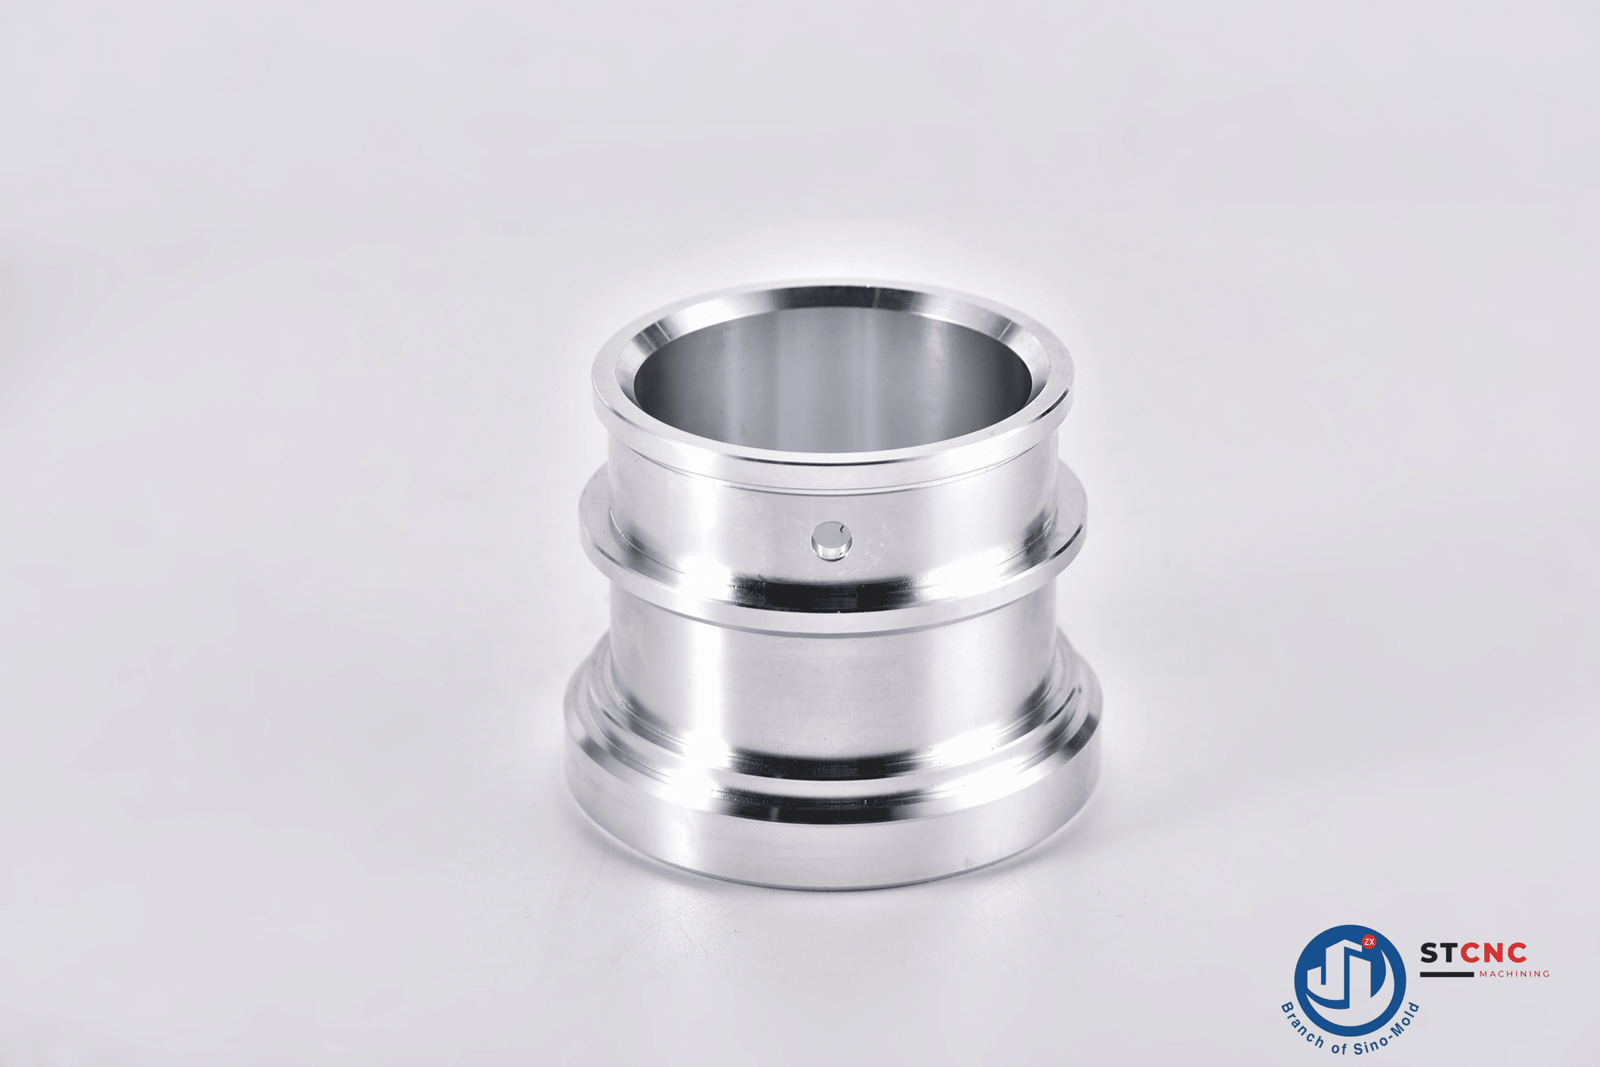
Smooth surfaces are free from imperfections and have a sleek and polished appearance. It provides a pleasing aesthetic and can be achieved through manufacturing processes like polishing, buffing, or machining with fine-cutting tools. It’s smoother than the as-machined surface.
2. Brushed Finish

A brushed finish involves creating fine parallel lines or a textured pattern on the surface using abrasive materials or brushing tools. It is commonly used in applications with a desired decorative or textured appearance, such as stainless steel appliances or architectural metalwork.
3. Matte Finish
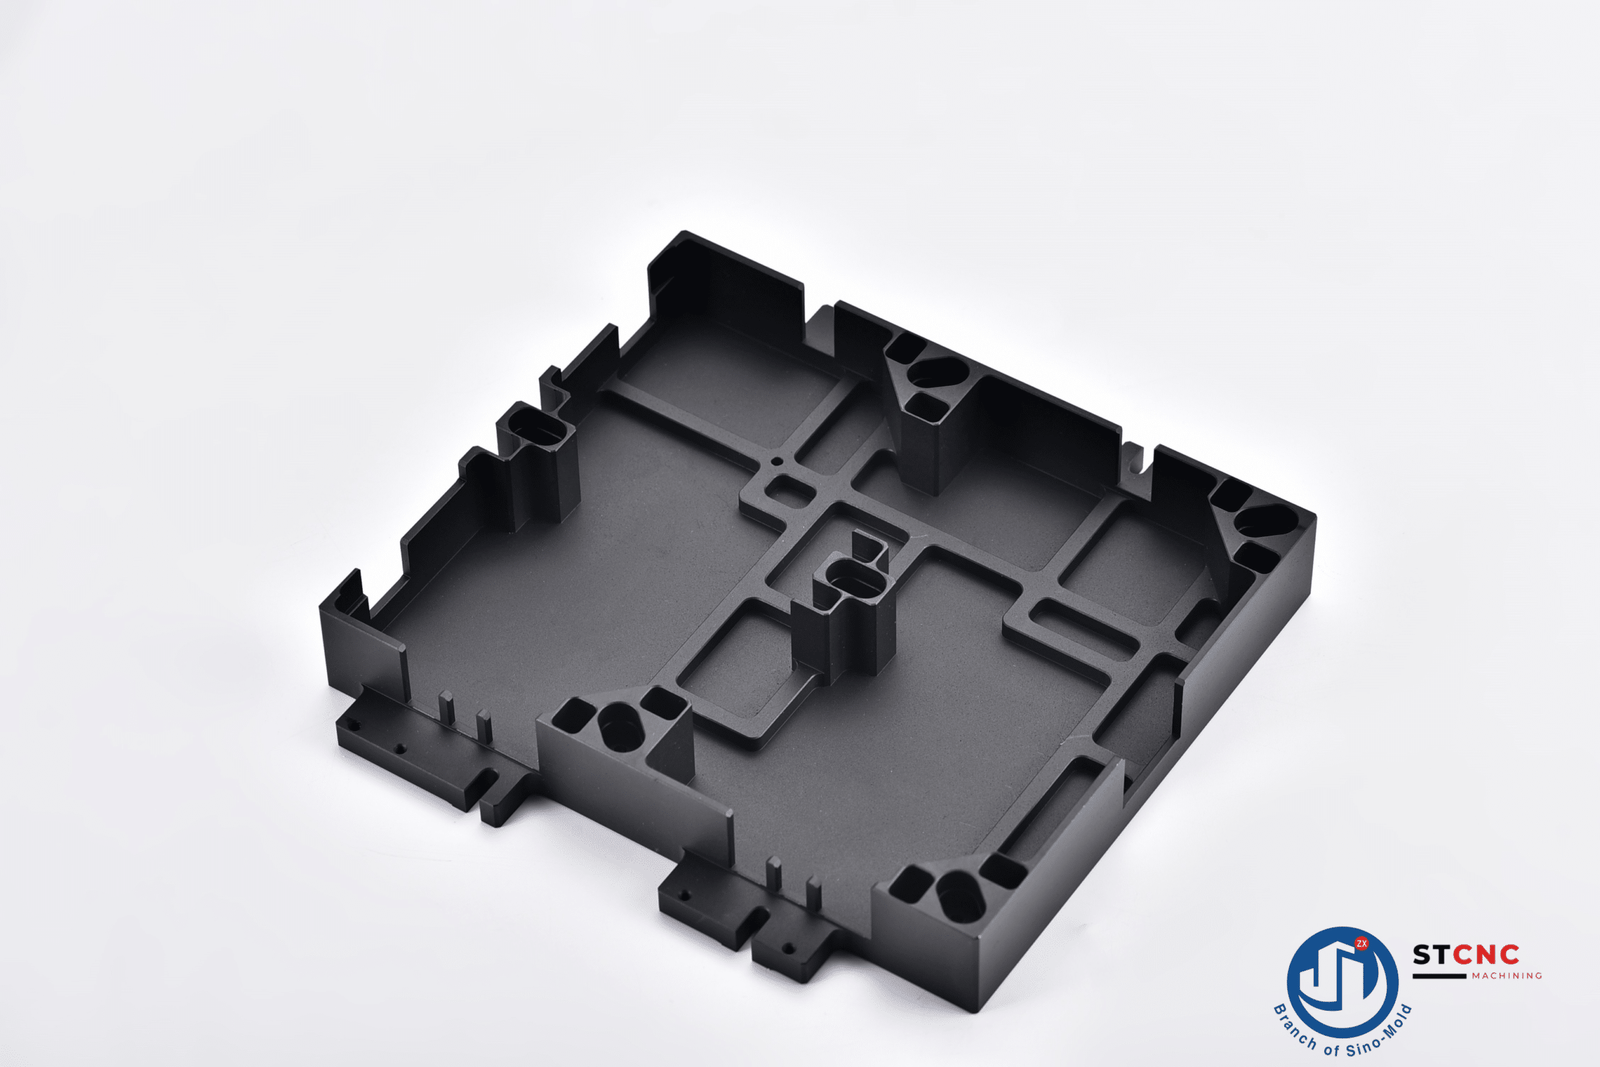
A matte finish has a non-reflective, dull appearance. It is achieved by sandblasting, bead blasting, or chemical etching processes. Matte finishes are often used in photography equipment, electronic devices, and automotive interiors to reduce glare and reflections.
4. Polished Finish
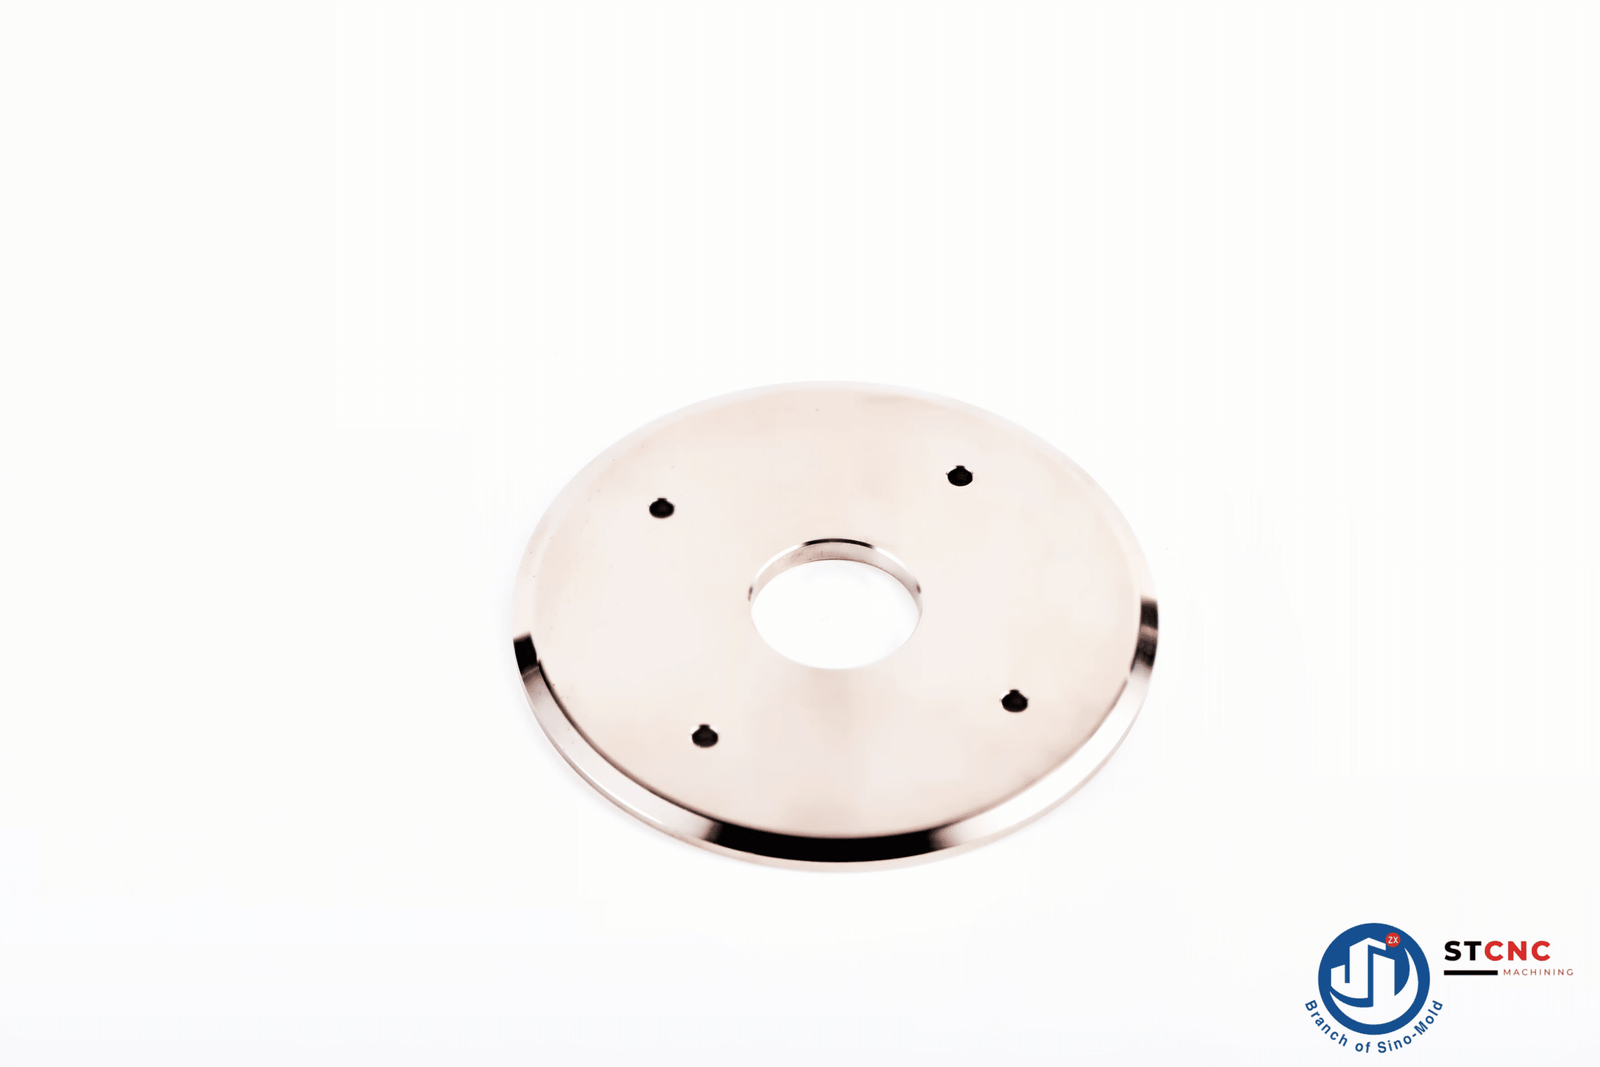
A polished finish involves buffing and polishing the surface to achieve a smooth, reflective, and mirror-like appearance. It is commonly used in jewelry, metal fittings, and decorative items to enhance visual appeal.
5. Satin Finish
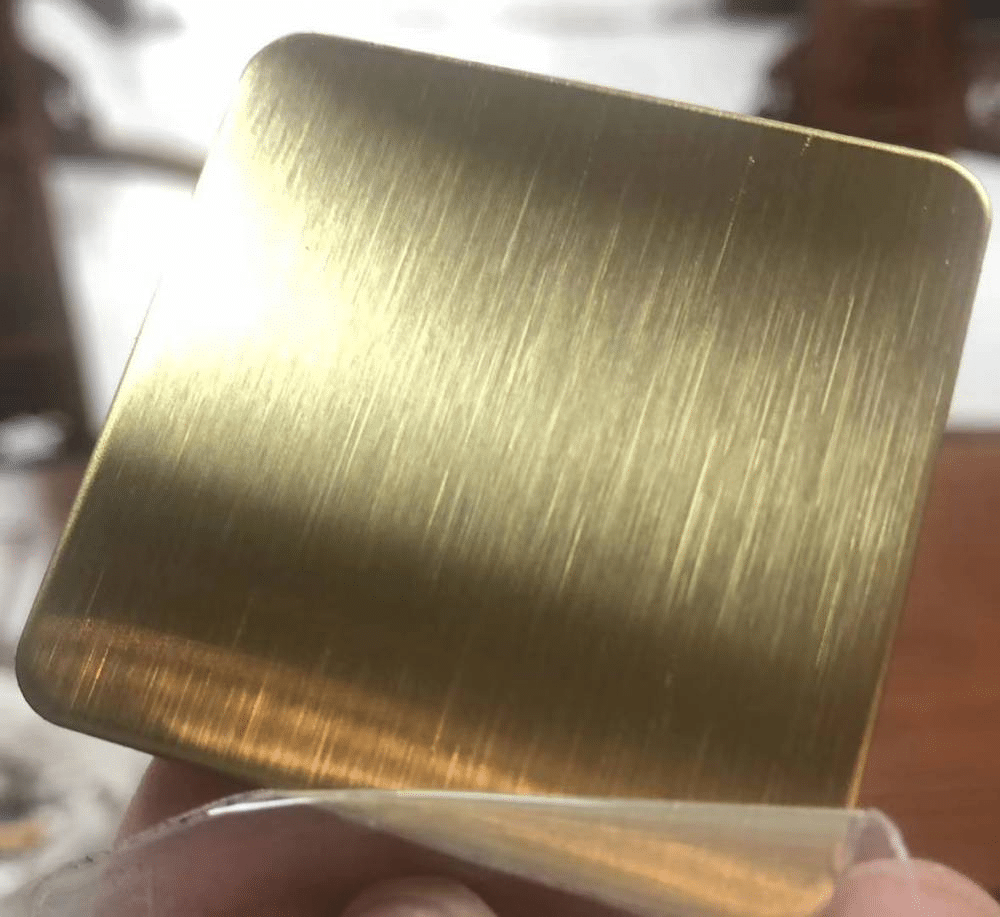
A satin finish falls between a matte and polished finish. It has a semi-reflective, low-luster appearance with a slight texture. Satin finishes are commonly used in kitchen appliances, faucets, and decorative hardware.
6. Textured Finish

Textured finishes add patterns, designs, or textures to the surface. These finishes can be achieved through embossing, engraving, or specialized machining. Textured finishes are used in architectural panels, consumer products, and automotive components to enhance grip, aesthetics, or functionality.
7. Anodized Finish
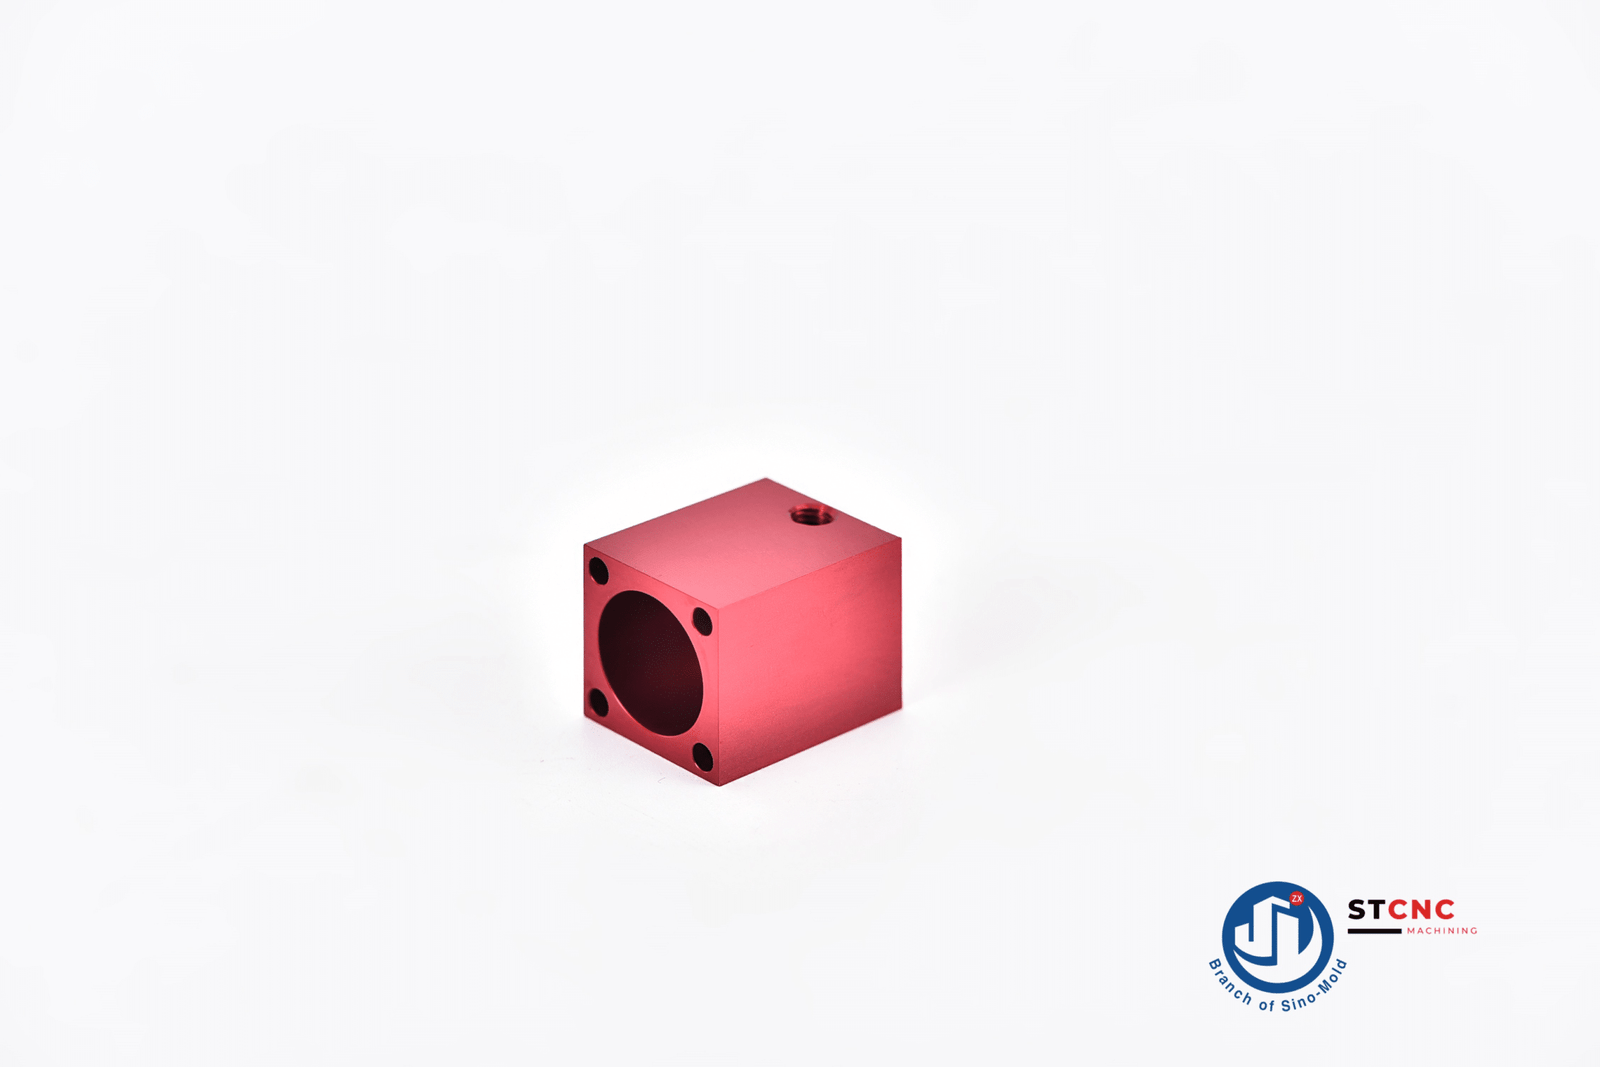
Anodizing is an electrochemical surface finishing that creates a durable and corrosion-resistant oxide layer on the surface of metals, such as aluminum. Anodized finishes provide a range of colors, improved hardness, and increased resistance to wear and weathering. They are commonly used in architectural applications, consumer electronics, and automotive components.
8. Powder Coated Finish
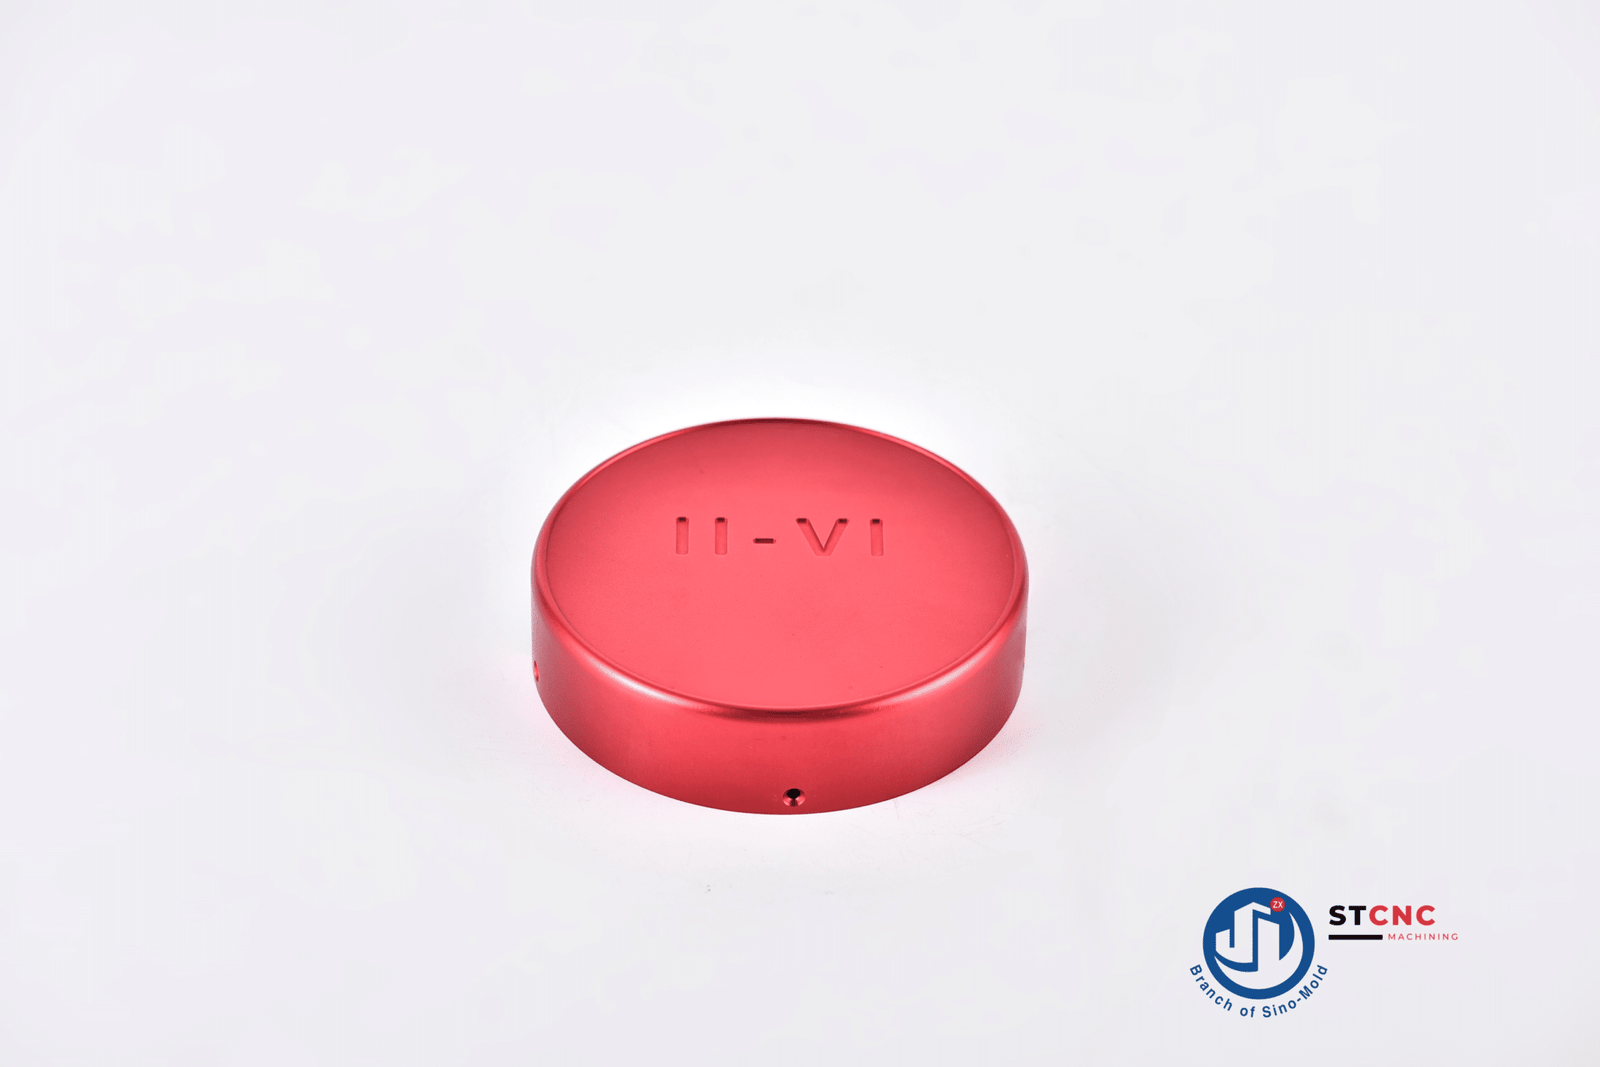
Powder coating involves applying a dry powder onto the surface and then curing it to create a durable and decorative finish. Powder-coated finishes offer a wide range of colors and textures and improved resistance to scratching, chipping, and fading. They are widely used in furniture, appliances, and outdoor equipment.
9. Galvanized Finish
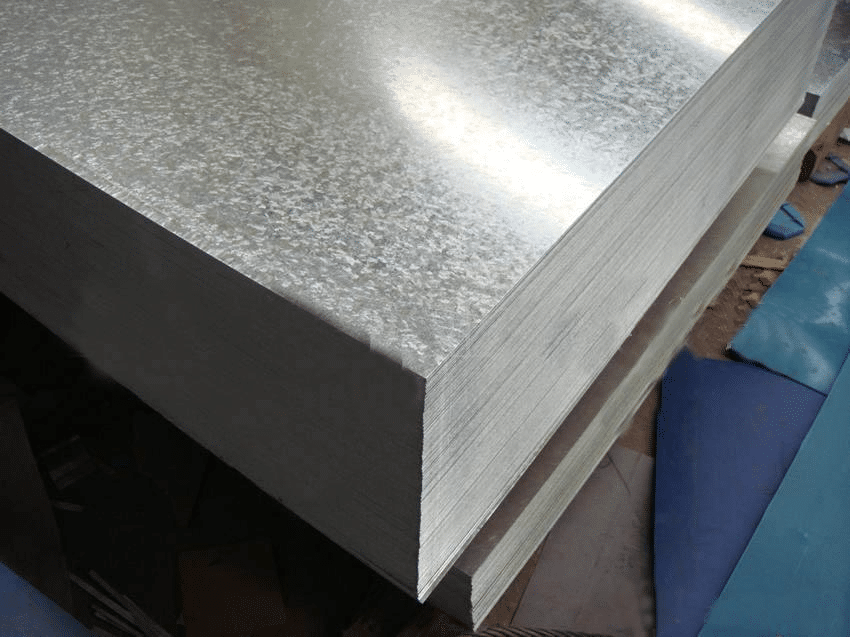
Galvanizing involves applying a protective zinc coating to the surface of steel or iron to prevent corrosion. Galvanized finishes provide excellent rust resistance and are commonly used in construction, outdoor structures, and metal components exposed to harsh environments.
10. Plated Finish
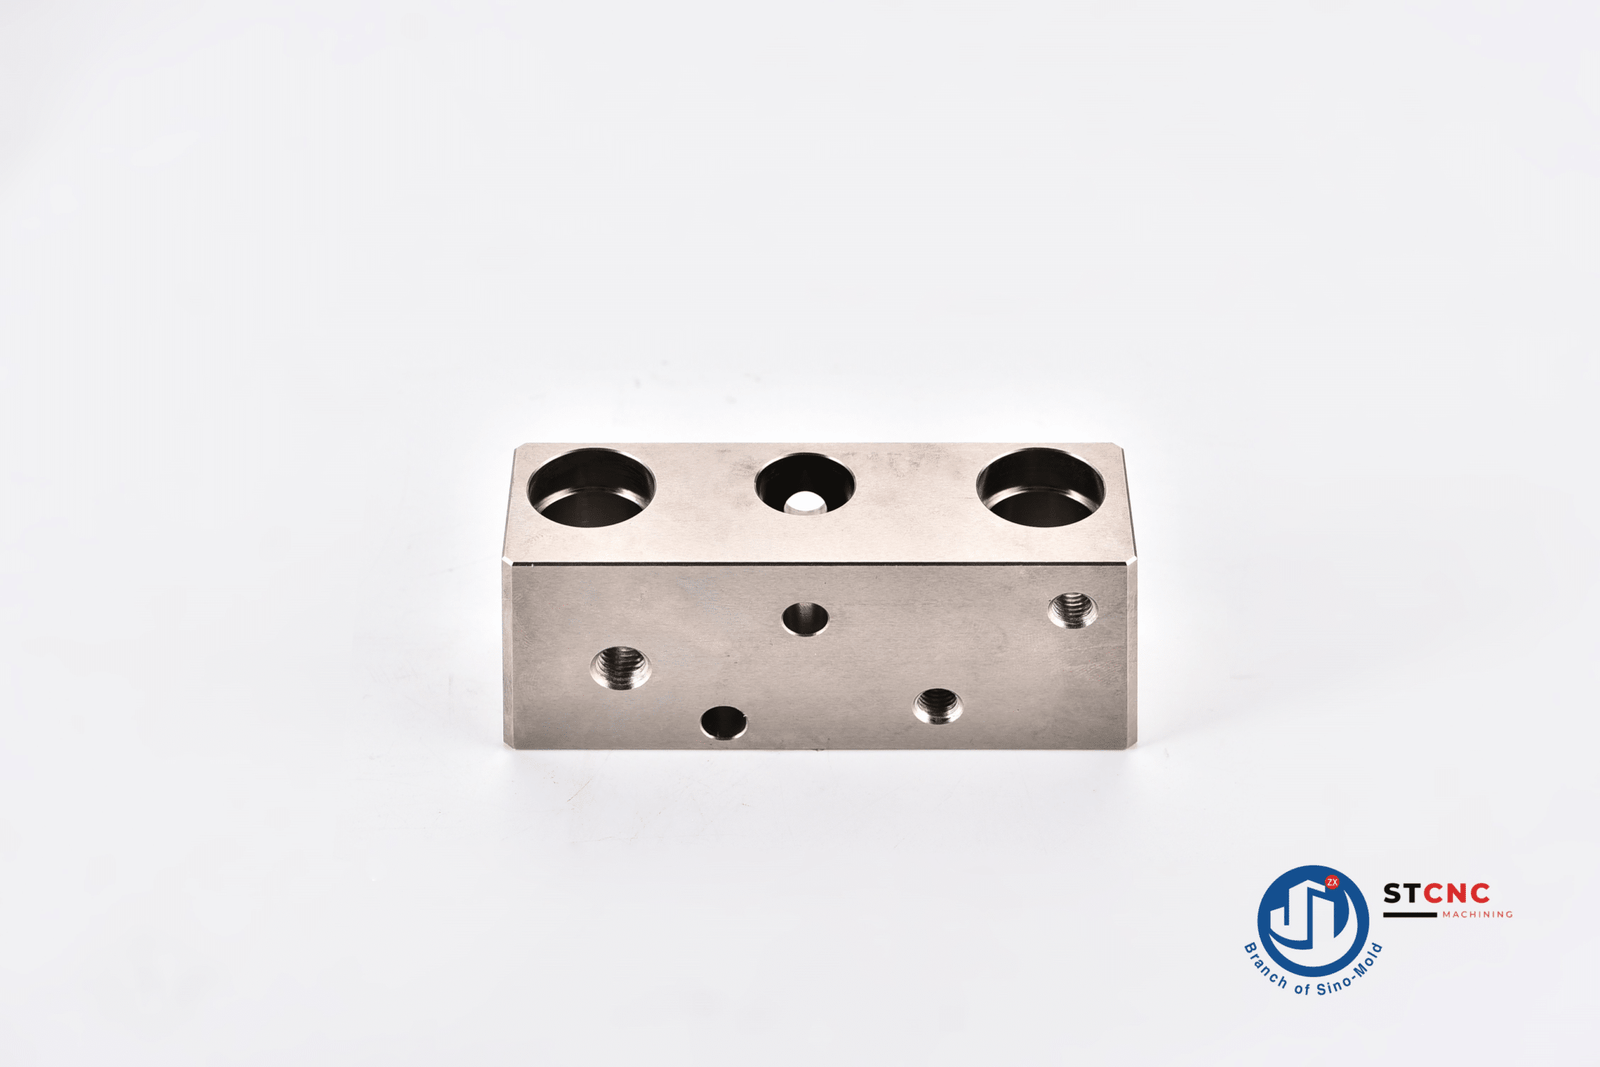
Plating involves depositing a layer of metal onto the surface of a substrate, often through electroplating or electroless plating processes. Plated finishes can provide enhanced appearance, corrosion resistance, and improved conductivity. Examples include chrome-plated finishes on automotive parts and gold-plated finishes on jewelry.
These are just a few examples of surface finishes. In many cases, a CNC machining factory will use more than one process, and many more variations and combinations are available depending on specific requirements and industry standards.
How to Choose the Appropriate Surface Finish?

Choosing the appropriate surface finish involves considering several factors related to the specific application, material, functional requirements, aesthetics, and manufacturing constraints. Here are some steps to help guide the selection process:
1. Understand the Application
Start by clearly understanding the application requirements. Consider factors such as the product’s intended use, environmental conditions it will be exposed to, functional needs, and any specific industry or regulatory standards that apply.
2. Evaluate Material Compatibility
Different surface finishes may interact differently with various materials. Consider the compatibility between the chosen surface finish and the base material to ensure proper adhesion, corrosion resistance, and longevity.
3. Define Functional Requirements
Determine the functional requirements of the surface finish. For example, consider factors like friction, wear resistance, electrical conductivity, chemical resistance, and lubrication requirements. This will help narrow down the appropriate finishes that meet these specific needs.
4. Consider Aesthetics
If the product’s appearance is important, consider the desired aesthetic qualities. Determine whether a smooth, reflective, textured, or colored finish is needed to achieve the desired visual appeal and align with the product’s branding or intended market.
5. Evaluate Manufacturing Feasibility
Assess the manufacturing feasibility of different surface finishes. Consider the available manufacturing processes, associated costs, lead times, and the capabilities of the manufacturing facility or equipment. Some finishes may require specialized equipment, processes, or expertise.
6. Consult Industry Standards and Specifications
Check if any industry-specific standards, guidelines, or specifications define the acceptable surface finish requirements for the particular application. These standards can provide valuable insights into the appropriate finish parameters, tolerances, and measurement methods.
7. Test and Prototype
If possible, conduct tests or create prototypes with different surface finishes to evaluate their performance, functionality, and aesthetics. This can help identify the most suitable finish and validate its effectiveness in meeting the desired requirements.
8. Seek Expert Advice
Consult with engineers, surface finish specialists, or industry experts with experience in the specific application or industry. They can provide valuable insights and recommendations based on their expertise and knowledge of surface finishes.
Author’s Words:
Thanks for reading this article; I hope it helps with your decisions regarding surface finish.
By understanding these surface finishes, their properties, and their suitability for different applications, you can make informed decisions when selecting the appropriate finish to meet functional, aesthetic, and manufacturing requirements.
