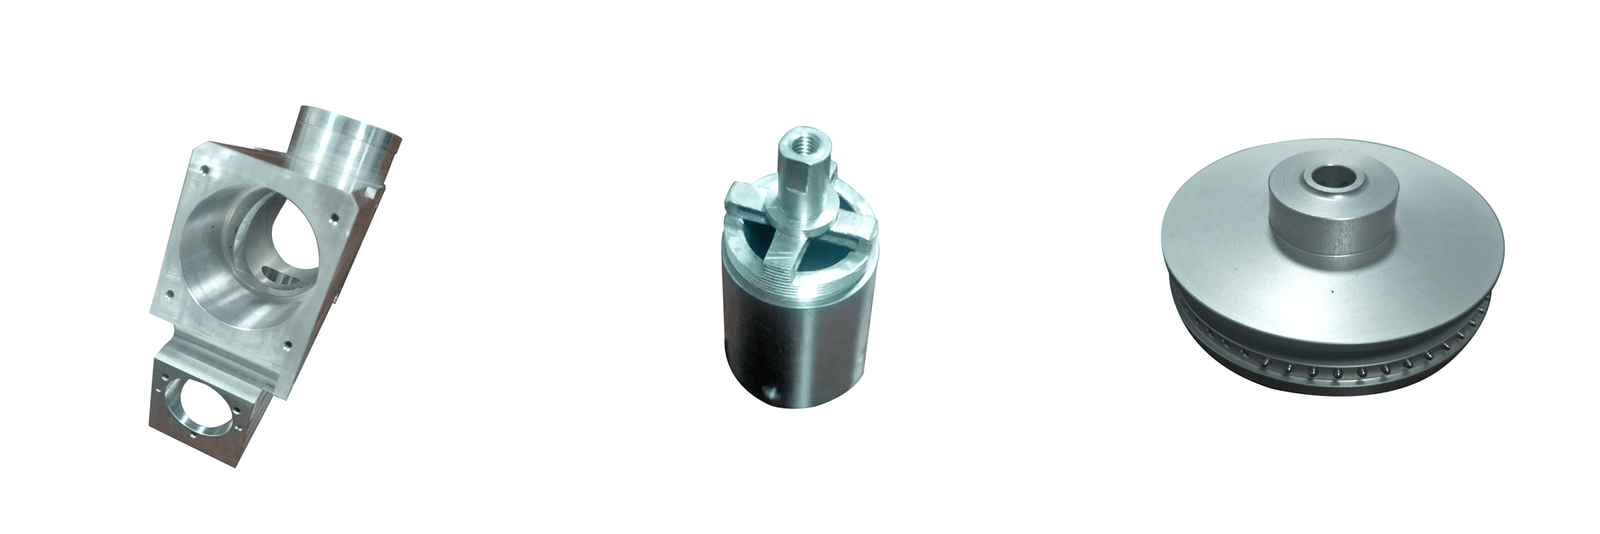
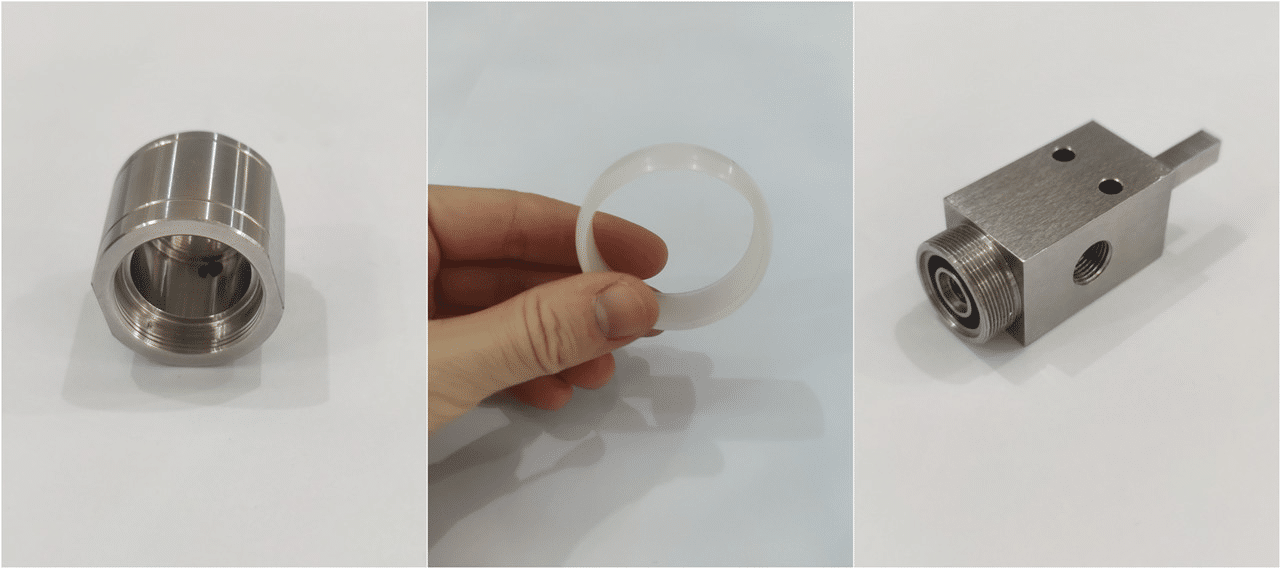
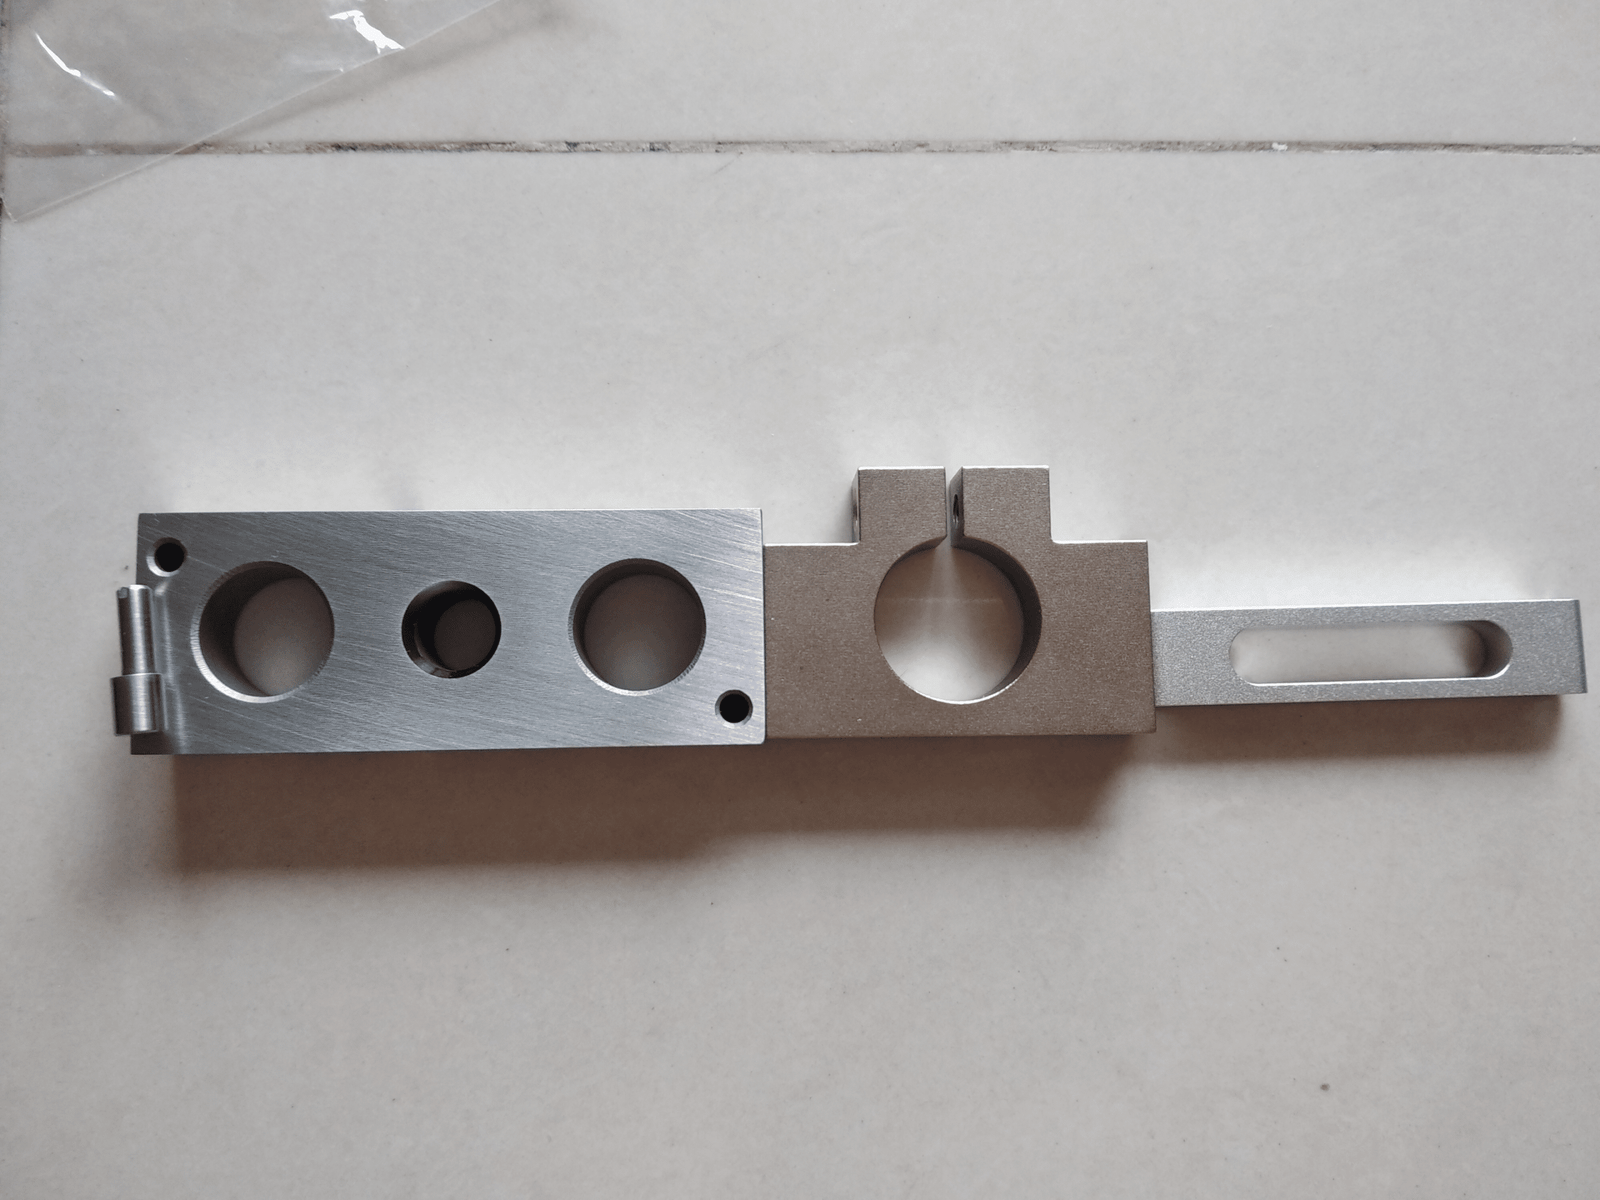
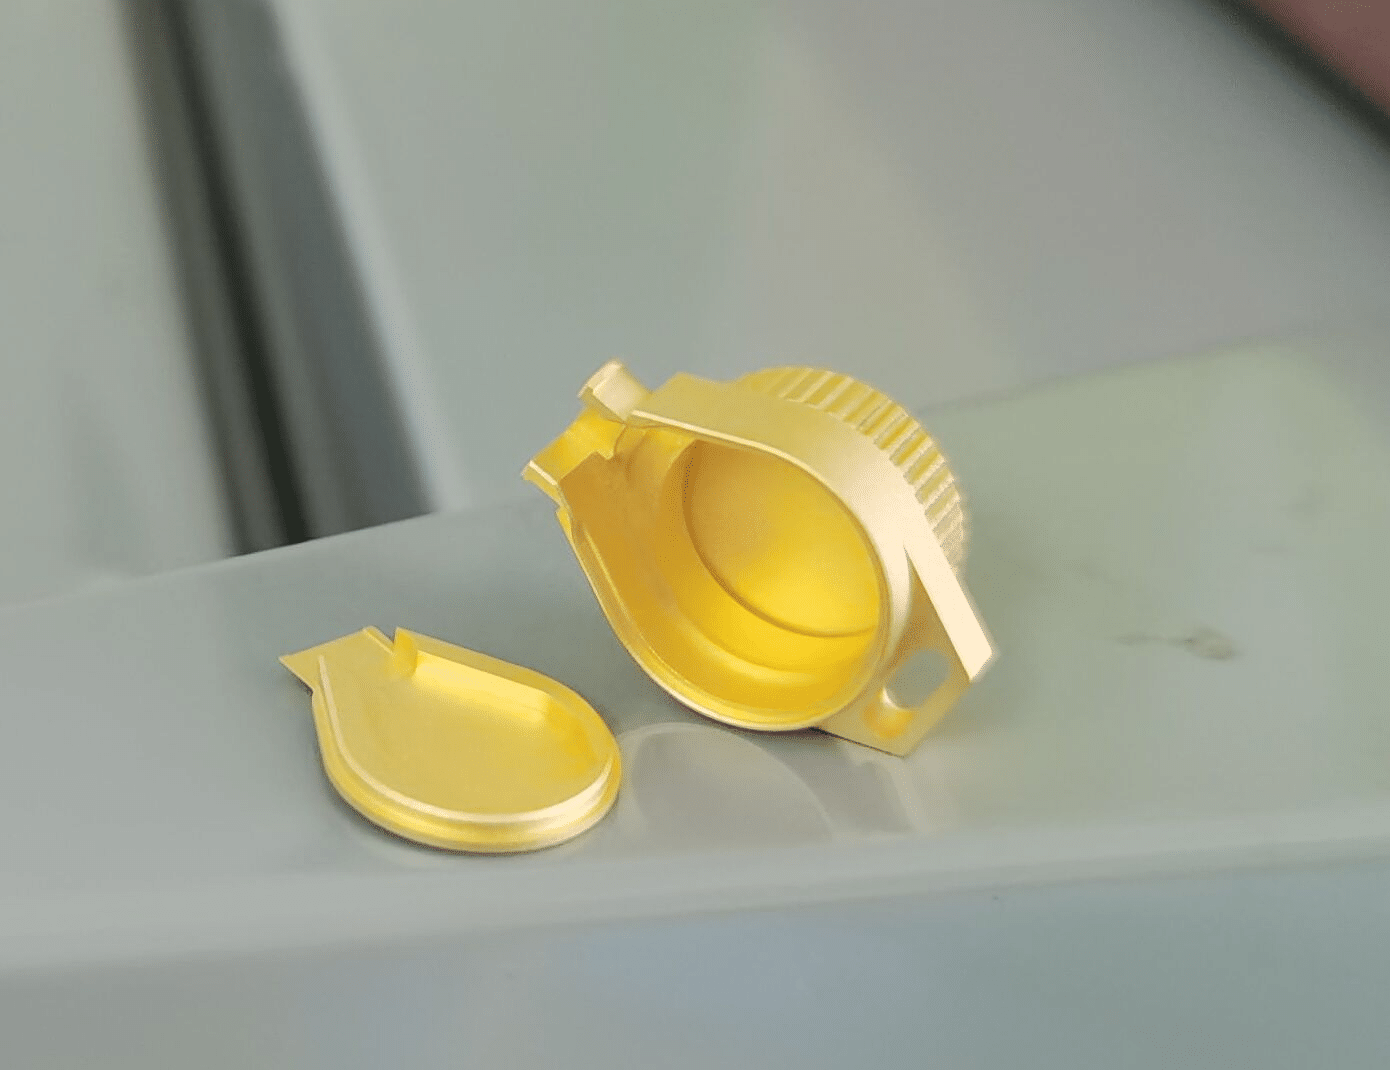
When you get a CNC machined part, you first notice the appearance. Poor surface finish quality has been one of the most complained defects, like visible tool marks, poor protective layer, missing required texture, etc. So it’s really important for CNC machining skilled people to know how to get an impeccable surface finish. By optimizing the entire machining process and adding post-processing, we can make sure the machined part with correct/ better surface roughness.
Let’s find the answer to this question step by step together! Before getting into the topic, we need to understand two concepts:
Surface Finish VS Surface Finishing
Surface finish refers to the quality and characteristics of the surface of a material, such as its texture, roughness, and appearance.
Surface finishing, on the other hand, refers to modifying a material’s surface to achieve a desired surface finish. Surface finishing can involve various techniques, such as sanding, polishing, grinding, blasting, coating, or painting, to improve a material’s surface quality, functionality, or aesthetics.
In a word, surface finish refers to the quality, overall texture, and characteristics of a surface, while surface finishing refers to the process of modifying the surface to achieve a desired finish.
How to Measure Surface Finish?
Surface finish is a measure of the quality of the surface texture of a manufactured part. It refers to the degree of smoothness, flatness, and uniformity of the surface. Here are its three characteristics and how they can be measured:

Surface Roughness:
Surface roughness is the small stuff, the fine deviations on the surface. Use a probe to feel it and measure parameters like Ra, Rz, or Rq. Measuring roughness helps to ensure that the surface is smooth and free of small imperfections that can affect the part’s performance, durability, and appearance. Roughness is typically measured using contact profilometry, non-contact profilometry, or surface finish gages.
Here is the chart for your quick check of surface roughness parameters (Ra, Rz, Rq) and their corresponding descriptions.
| Roughness Parameter | Ra Range(micrometers) | Rz Range(micrometers) | Rq Range(micrometers) |
| Very coarse | >50 | >400 | – |
| Coarse | 25-50 | 200-400 | – |
| Moderately coarse | 12.5-25 | 100-200 | – |
| Average | 6.3-12.5 | 50-100 | – |
| Moderately smooth | 3.2-6.3 | 25-50 | 15-35 |
| Smooth | 1.6-3.2 | 12.5-25 | 8-20 |
| Very smooth | 0.8-1.6 | 6.3-12.5 | 4-10 |
| Super smooth | <0.8 | <6.3 | <3.2 |
Surface Waviness:
Surface waviness is the bigger picture, describing the surface deviations on a larger scale. Use a larger wavelength to measure it with parameters like Wt or Wp. Measuring waviness helps ensure that the surface is free of larger deviations that can affect the part’s fit, function, and appearance. Waviness can be measured using contact profilometry, non-contact profilometry, or stylus instruments.
Surface Lay:
Surface lay is the pattern direction, the texture of the surface in a particular direction. Use contact or non-contact profilometry or a visual comparator to measure the lay angle, direction, or bearing ratio. Measuring lay helps to ensure that the surface texture is aligned with the intended design, which can affect both the appearance and function of the part.
Here’s a quick chart to check the differences between the three characteristics of surface finish.
| Metric | Definition | Characteristics | Measurement Parameters | Examples |
| Roughness | The measure of irregularities the surface of an object | Shorter wavelength high-Frequency variations on the surface | Ra,Rz,Rq,Rmax | Scratches on a metal surface,bumps on a plastic surface,rough texture on a concrete surface |
| Waviness | The measure of larger, more widely-Spaced deviations from the ideal surface | Larger wavelength usually visible to the naked eye | Wt,Wp,Ws,Wc | Waves on a water surface, ripples on a sandy beach, undulations on a metal sheet |
| Lay | The pattern created by the production process or tooling used | Longest wavelength usually visible to the naked eye | Ls,Lo,Lq, Lmax | Saw marks on a wooden surface, tool marks on a metal surface, and striations on a plastic surface. |
Why is Surface Finish So Important?

Surface finish is an important consideration for manufacturers across a wide range of industries because it can significantly impact the performance, quality, and functionality of a product and can significantly impact the success of a product.
1.Functionality:
The surface finish can directly impact how a product performs. For example, if the surface of a bearing or shaft is too rough, it can cause excessive wear, leading to premature failure. On the other hand, if the surface is too smooth, it can cause insufficient friction and reduce the product’s ability to function properly. Achieving the right surface finish is critical to ensuring that a product operates as intended, also helpful for the related tool life.
2.Aesthetics:
The surface finish of a product can also impact its appearance, which can be important in industries such as automotive or consumer products. A high-quality surface finish can make a product look more attractive and enhance its perceived value.
3.Durability:
A properly finished surface can also help to protect a product from environmental factors such as corrosion, oxidation, or chemical attack. For metal parts, for example, a polished metal surface can be more resistant to rust than a rough, unpolished surface.
4.Manufacturing efficiency:
Achieving the desired surface finish can also help to improve the manufacturing process and efficiency by reducing the need for additional processing steps, such as polishing or grinding. This can save time and resources and help to streamline the production process.
5.Safety:
The surface finish can also impact the safety of a product. For example, a rough surface on a hand tool can cause blisters or abrasions, while a slippery surface on a handrail can increase the risk of falls. The appropriate surface finish can help mitigate these risks and improve the tool’s life and overall safety.
What Do We Need to Consider for Desired Surface Finishes?

1.Material selection
Metals like aluminum and copper are relatively easy to machine and produce a good surface finish, while materials like titanium and Inconel require specialized machining techniques to achieve the desired surface finish.
2.Tool selection
Choosing the appropriate tool is crucial for achieving the desired surface finish in manufacturing processes. For example, carbide and diamond-coated tools are often used for achieving a smooth surface finish.
3.Machining parameters
The machining parameters such as the spindle speed, feed rate, depth of cut, and cutting fluid all play a role in achieving the correct surface finish. The appropriate combination of these parameters depends on the material being machined and the required surface finish as machined.
4.Surface preparation
Preparing the material surface prior to machining is important to ensure a smooth machined surface finish. This can involve cleaning the material, using a lubricant or coolant during machining, or applying a surface coating or treatment to protect the machined surface from damage.
5.Operator skill and experience
A skilled operator who understands the material being machined and the appropriate machining parameters can optimize the machining process to achieve the desired surface finish.
By considering all of these factors , we can ensure that the final product meets the desired specifications.
How to Improve Surface Finishes by As Machined Process?
1.Increase the Speed
By increasing the machining speed, you can reduce the time it takes to machine the part and improve the surface finish. However, it’s important to ensure that the whole cutting process and parameters are optimized for machining material and the desired surface finish. Increasing speed without proper optimization can cause tool wear and other issues.
2.Reduce the Feed Rate
Lowering the feed rate can help reduce the amount of material removed in each pass, resulting in a smoother surface finish. However, reducing the feed rate too much can increase machining time and lead to other issues like tool wear and chip buildup.
3.Increase the Top Rake Angle
Increasing the top rake angle of the cutting tool can improve chip control and reduce the likelihood of visible tool marks and other surface imperfections. This is because a larger top rake angle allows the tool to cut more freely and remove material more efficiently.
4.Use a Chip Breaker
Chip breakers can help control the size and shape of chips, reducing the likelihood of chip buildup and surface imperfections. By breaking the chips into smaller pieces, the cutting can more easily remove them from the workpiece and prevent them from scratching the surface.
5.Use a Larger Nose Radius
Using a cutting tool with a larger nose radius can help to distribute cutting forces more evenly and reduce the likelihood of tool marks and other machined surface imperfections. This is because a larger tool nose radius allows the tool to enter the machined material more smoothly, resulting in a smoother surface finish.
6.Use an Insert with a Wiper
Inserts with a wiper edge can help smooth the surface finish by removing any remaining tool marks or imperfections. The wiper edge is designed to make light contact with the workpiece surface and wipe away any imperfections left on the poor surface by the insert’s cutting edge.
7.Use the Right Technique
Choosing the appropriate machining technique based on the material and desired surface finish can help to achieve the best results. For example, using a climb milling technique can result in a smoother surface finish than conventional milling because it reduces the likelihood of tool marks and other imperfections.
8.Use Tool Capable for Roughing and Finishing
Using specialized tools for roughing and finishing operations can help to optimize the machining and achieve the desired surface finish. Roughing tools are designed to quickly remove large amounts of material while finishing tools are designed to make light passes and achieve a smooth surface finish.
9.Remove the Chips
Removing chips from the workpiece and cutting area can help to prevent chip buildup and surface imperfections. Accumulated chips can scratch the surface of the workpiece and cause tool marks and other imperfections.
10.Check Your Toolholding and Workholding
Ensuring the cutting tool and workpiece are securely held in place can help prevent vibration and other poor surface finishes and imperfections. Loose toolholding or workholding can cause the tool or workpiece to move during machining, resulting in poor surface finish, apparent vibration, and other issues.
By implementing these steps, you can improve the machining process for a desired surface finish and achieve the desired results with high-quality parts that meet the required specifications.
POST PROCESSING TO MAKE YOUR PARTS PERFECT LOOKING.
After finished, you have got an ideal surface what the cnc machining process can achieve.
However, the post finishing process will further optimize your product not only in terms of surface finish but also in terms of product performance.

Here are some common post-processing techniques that can be used to make your parts look perfect:
1.Deburring
Deburring is the process to remove sharp edges, burrs, and other imperfections from the surface of a part. It can be done by hand or with specialized tools like tumblers or vibratory finishing machines.
2.Sanding and Polishing
Sanding and polishing can be used to smooth out the surface of a part and remove any remaining tool marks or imperfections. Sanding can be done by hand or with specialized tools like sandpaper or sanding wheels. Polishing can be done with abrasive compounds and polishing wheels.
3.Passivation
Passivation is the process of adding a protective layer to a raw material or surface to prevent chemical reactions or corrosion. It is widely used in the metal industry to protect surfaces against rust and corrosion and in the semiconductor industry to prevent unwanted chemical reactions.
4.Electroless Nickel Plating
Electroless Nickel Plating (ENP) is a process used to add a layer of nickel-phosphorus alloy to a substrate without using an external electrical current. It is used in applications where wear resistance, corrosion resistance, or electrical conductivity is required. The process can be applied to various substrates, and the properties of the coating can be adjusted by changing the plating solution and process parameters. ENP is commonly used in industries such as aerospace, automotive, electronics, and medical devices.
5.Zinc Plating
Zinc plating is the process of adding a protective layer of zinc to a metal surface by immersing it in a bath of zinc salts. It helps to prevent corrosion and rust and is commonly used on steel and iron. Zinc plating is a cost-effective way to improve the appearance and durability of metal surfaces.
6.Powder Coating Process
The powder coating process adds a durable layer of paint to a substrate. It involves applying a dry powder to the surface and then heating it to create a hard finish. Powder coating is commonly used in industries such as automotive and furniture, and provides superior durability, resistance to wear and tear, and a consistent.
7.Electropolishing
Electropolishing is a process that uses an electrolytic solution and electrical current to remove a thin layer of metal from a metal surface, resulting in a smooth, shiny finish. It is used to improve the surface finish of metal parts, making them easier to clean and reducing the risk of contamination. Electropolishing is commonly used in industries such as medical, pharmaceutical, and semiconductors where high levels of cleanliness and surface finish are required.
8.Anodizing
Anodizing is a process that creates a thin, protective layer of oxide on the surface of metals, specifically aluminum, and its alloys. There are three main types of anodizing that each use different solutions and produce varying thicknesses of oxide layers.
| Type of Anodizing | Characteristics | Properties |
| Type I:Chromic Acid Anodizing | Thin, Porous oxide layer | Good adhesion for paint and other coatings, corrosion resistance, electrical insulation |
| Type II:Sulfuric Acid Anodizing | Thicker,denser oxide layer | Increased corrosion resistance,electrical insulation,good for dyeing and coloring |
| Type III:Hardcoat Anodizing | Thickest,most durable oxide layer | Exceptional hardness,wear resistance,corrosion resistance,good for applications with high abrasion or wear. |
9.Bead blasting
Bead blasting is a process that uses tiny glass beads or ceramic particles to clean or finish a surface by spraying them onto the surface at high velocity. It can improve surface texture and roughness, making it useful for creating a uniform matte finish or improving adhesive bonding. It’s commonly used on metal parts, glass, ceramics, and plastics.
10.Assembly and Packaging
Assembling and packaging parts can help to protect them during shipping and ensure that they are ready for use when they arrive at their destination. This can include adding protective packaging materials, labeling parts, and organizing them in kits or assemblies.
11.Combining Multiple Finishes
Combining multiple surface finishes is a manufacturing technique to achieve specific functional and aesthetic requirements. Different surface finishing techniques are applied to different parts of a product. Examples include using chrome plating and anodizing for corrosion resistance and powder coating for durability. Careful consideration is required to ensure that the finishes are compatible to avoid negative chemical reactions or performance issues.
Conclusion
In order to obtain a better surface finish, in addition to paying attention to various processing parameters during the machining process to ensure the ideal surface finish, we also need to select appropriate post-treatment according to the requirements and characteristics of the parts.
Contact Stcnc Machining for a quick gain of fine finishing products with good looking. We want to make the art for you.

