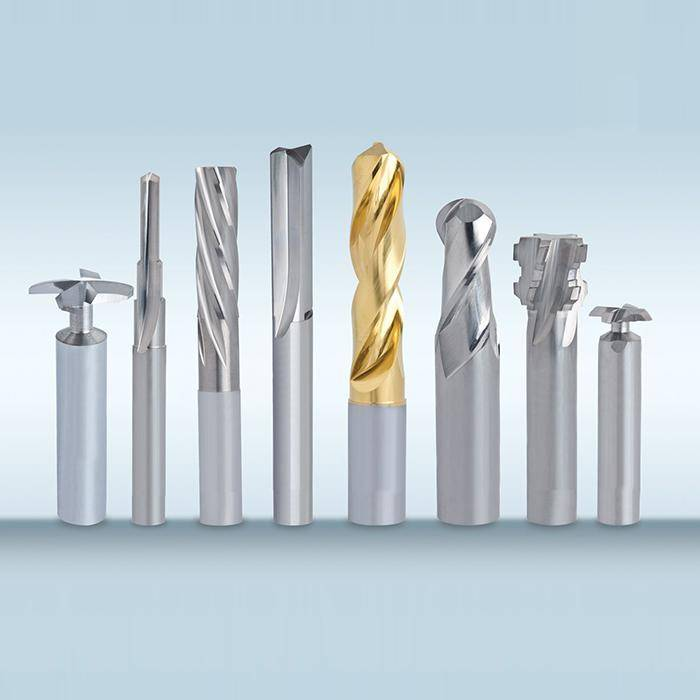
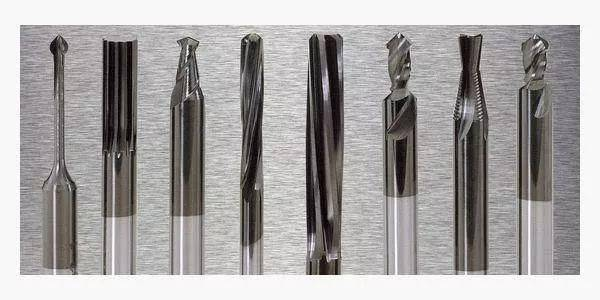
Cutting tools are essential partners in machining, but they face a tough challenge – they wear out and can get damaged while working. Think of it like the wear and tear your car’s tires experience on a long road trip. Just as a road trip can cause tires to chip, wear down, or even fail, the same happens with cutting tools. It’s just part of the job. But here’s the catch – some of these issues can be controlled. Just like driving carefully and taking care of your car can make your tires last longer, handling and maintaining cutting tools properly can help them last longer too.
Now, let’s look at why cutting tools wear out and how to keep them working well and avoid problems like tool breaks and wear. And remember, even the interaction with the machine tool plays a role in all this.
I. Signs of Tool Damage:
1. Micro Chipping of Cutting Edge:
When the material is uneven, the tool angles are too big, or the setup isn’t strong, the cutting edge can weaken and start to chip. At first, the tool can still work, but if it keeps going, the damage worsens.
2. Chipping or Fracture of Cutting Edge or Tool Tip:
This kind of damage happens when the cutting conditions are tough, even more challenging than when the tool gets those tiny chips. It’s like a bigger problem that comes after the small chips. The fractures here are bigger – they cover a wider area and can even make the tool useless for cutting. So, we might need to change the tool altogether. When the tool breaks at the tip, we call it a “tip drop.”
3. Breakage of Inserts or Tools:
When things get tough during cutting – like if we’re using the tool too much, hitting hard, or the material has small cracks – along with not treating the tool properly, it can make the tool snap or break. When this happens, the tool becomes useless and can’t be used anymore. It’s like when something’s too damaged to fix.
4. Surface Layer Peeling of Inserts:
Materials that easily break, like carbides with lots of TiC or ceramics, can have issues. Sometimes there are problems with the top layer, like tiny breaks or stresses from welding or grinding, which can make the top layer peel off. This blade surface peeling can happen on the front or back of the cutting part, and if there’s a special coating, it can make things even worse. If just a slight peeling happens, the tool might still work somewhat, but if a lot of peeling happens, the tool can’t cut well anymore.
5. Plastic Deformation of Cutting Zone:
Some materials, like tools and high-speed steel, can change shape slightly in their cutting area because they’re not very strong or hard. When things get hot, and there’s a lot of stress from different directions, these materials can bend or squish. But when it comes to tough alloys, their cutting edge or tip can change shape and break because of heat and stress. However, materials like PCD and PCBN usually don’t change shape like this.
6. Thermal Cracking of Inserts:
Mechanical loads and thermal stresses induce alternating thermal stresses in the cutting surface, causing fatigue and cracks in the tool. High-speed steel milling cutters, for instance, experience cyclic impact and alternating thermal stress during high-speed milling, leading to comb-like cracks on the front face. Even tools with no obvious cyclic load or stress might develop cracks due to temperature inconsistencies and inherent defects in the material. Tool function might persist for a while after crack formation or rapidly deteriorate.
II. Causes of Tool Wear
1. Abrasive Wear:
This type of wear occurs when small, extremely hard particles in the workpiece material create grooves on the surface of the cutting tool. These grooves, known as abrasive wear, can be found on all sides of the tool but have the most impact on the front face. While abrasive wear can happen at different cutting speeds, it becomes particularly noticeable at lower speeds because higher temperatures at faster speeds mask other types of wear.
2. Cold Welding Wear:
Intense pressure and friction between the workpiece, cutting tool, and front and rear surfaces can lead to cold welding. This involves the temporary sticking together of surfaces due to the high forces and subsequent fracturing upon separation. Cold welding wear becomes more pronounced when cutting at moderate speeds.
3. Diffusion Wear:
Elevated temperatures during machining cause chemical elements from both the workpiece and the cutting tool to mix and alter the composition of the tool’s surface. This process, known as diffusion wear, leads to a weakening of the surface layer. Notably, diffusion wear is characterized by distinct changes in depth between the contacting objects.
4. Oxidation Wear:
High temperatures also trigger surface oxidation of the cutting tool. This results in the formation of softer oxide layers on the tool’s surface, which can then be worn away by contact with the workpiece. An example of oxidation wear occurs between 700°C and 800°C, where cobalt and carbides in hard alloys react with oxygen to form soft oxides. Similarly, at 1000°C, chemical reactions occur between PCBN and steam, contributing to oxidation wear.
III. Forms of Tool Wear
1. Front Face Wear:
When machining plastic materials at high speeds, a “moon crater” wear pattern can develop near the cutting force region, causing wear to the front face. This is also known as moon crater wear. Initially, an increased front angle can improve cutting conditions and chip curling, but as the crater enlarges, cutting edge strength significantly reduces, potentially leading to fracture.
2. Tip Wear:
Tip wear refers to the wear on the rear face of the tooltip and the adjacent secondary rear face. It continues from rear face wear. Tip wear is more rapid due to poor heat dissipation and stress concentration. It often results in grooves on the secondary rear face, known as groove wear. These wear forms are due to hardened layers and cutting marks.
3. Rear Face Wear:
During heavy-duty cutting, a wear zone without tool-workpiece contact can develop on the rear face. A wear-free band often characterizes this wear, and its extent can be measured using the wear-free band width VB. It is most prominent when machining brittle materials or using small cutting depths.
IV. Preventive Measures for Tool Breakage and Fracture
1. Opt for the Appropriate Blade or Tool Material Types and Grades Based on Workpiece Characteristics, especially when dealing with specialized tools like cemented carbide milling cutter blades. This meticulous selection process guarantees that the chosen tool materials exhibit the necessary hardness and toughness, enhancing their cutting ability and enabling them to endure potential challenges such as tool breaks. This strategic approach safeguards optimal cutting performance and improves overall efficiency and productivity of machining operations.
2. Choose proper tool geometry parameters. Adjust angles such as front and back angles, rake angles, etc., to enhance cutting-edge strength and safeguard against tool breaks. Incorporating a negative back taper or honing a secondary edge on the cutting edge can mitigate the risk of tool breaks.
3. Ensure meticulous quality in welding and grinding processes. Doing so can thwart issues from improper execution that could lead to tool breaks.
4. Select the correct cutting parameters to avert excessive cutting force and high cutting temperatures – factors that can significantly heighten the chances of tool breaks.
5. Bolster the rigidity of the machining system. Reducing vibrations can substantially diminish the likelihood of tool breaks, contributing to sustained cutting performance.
6. Adhere to proper operating procedures diligently. Minimizing abrupt load changes on the tool can be pivotal in safeguarding against tool breaks and unexpected disruptions during machining processes.
V. Methods to Prevent Tool Wear
1. Decrease the roughness of the tool surface.
2. Increase the tool’s front angle.
3. Reduce cutting depth.
4. Use appropriate blade cutting speed to avoid wear-prone regions.
5. Heat treat workpiece materials to enhance hardness and reduce plasticity.
6. Utilize cutting fluids with good anti-welding properties.
VI. Formation, Characteristics, and Control of Built-up Edge
Formation Factors:
A built-up edge forms when chip material gets embedded in the uneven front face of the tool due to high downward pressure. This metal-to-metal bonding accumulates layers of chip material, leading to a built-up edge over time.
Characteristics and Impact:
The built-up edge is harder than the workpiece material and can act as a cutting edge but may cause excessive tool wear when fragments break off.
It increases the tool’s rake angle to reduce chip deformation and avoid excessive cutting force, considering the impact of surface structure.
The edge’s protrusion affects cutting depth and workpiece accuracy.
It creates “plowing” on the workpiece surface, impacting surface quality.
Control Measures:
Reduce tool face roughness.
Increase the tool’s rake angle.
Thinner cutting thickness.
Adjust cutting speeds.
Apply appropriate heat treatment to the workpiece material.
Use anti-bonding cutting fluids.
7. Built-up edge negatively impacts cutting, especially precision machining.
In summary, addressing tool breakage and wear requires a holistic approach involving proper tool selection, maintenance, and optimization of cutting parameters. By understanding the causes and effects of various types of damage, manufacturers can implement effective strategies to prolong tool lifespan, enhance machining efficiency, and improve product quality. Regular monitoring and collaboration across all stages of production are crucial to minimizing the impact of tool wear and breakage on manufacturing processes.
