In the world of precision manufacturing, CNC machining stands out as a reliable method for transforming digital designs into real-world components. But what exactly happens between a CAD file upload and the delivery of a finished part?
In this article, we’ll walk through the complete CNC machining workflow — step by step — so you understand how your custom parts are made with accuracy, consistency, and care.
1. CAD Design – The Foundation of Precision
Every CNC project starts with a CAD (Computer-Aided Design) model. This 3D file defines the geometry, dimensions, features, and tolerances of the part. It serves as the blueprint for the entire manufacturing process.
Common file formats: .STEP, .IGES, .STP, or .SolidWorks.
💡 Tip: A well-prepared CAD model reduces errors and machining time.
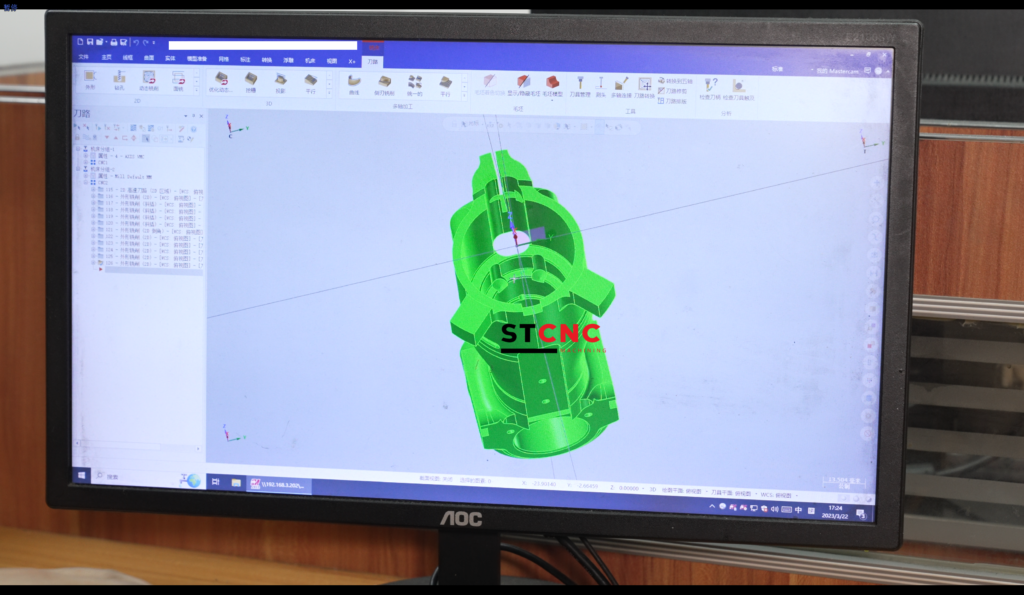
2. CAM Programming – Translating Design into Toolpaths
Once the CAD file is received, it is imported into CAM (Computer-Aided Manufacturing) software, which generates the toolpaths the CNC machine will follow.
The CAM process involves:
- Tool selection (e.g. end mills, drills)
- Cutting strategies (contour, pocketing, drilling)
- Speed & feed optimization
- Simulation to detect collisions or tool errors
The output is G-code — the machine-readable language used to drive CNC equipment.
3. Material Selection and Preparation
The correct raw material (metal, plastic, or composite) is selected based on the drawing specifications. It is cut to size and securely mounted to the machine using fixtures or vises.
Common materials:
- Aluminum 6061/7075
- Stainless steel 304/316
- Brass, Copper
- PEEK, Delrin, Nylon
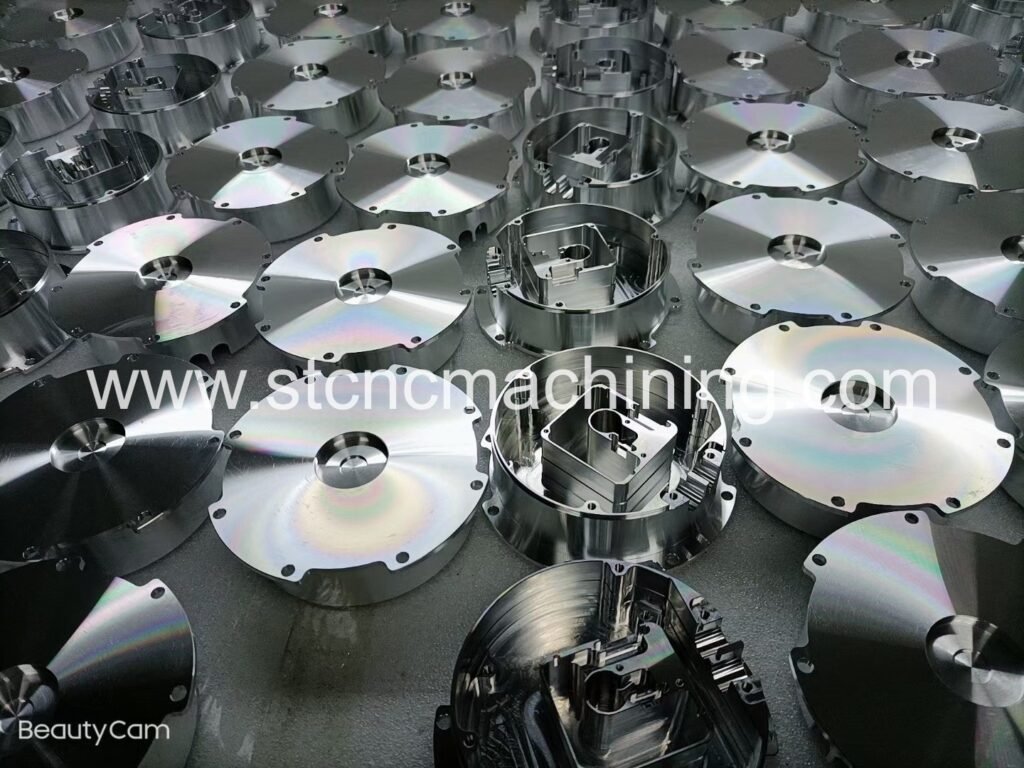
4. CNC Machining – Turning Designs into Reality
With the program ready and the material in place, the CNC machine gets to work. Depending on the part, operations may include:
- Milling (3-axis or 5-axis) for complex shapes
- Turning for cylindrical components
- Drilling for holes or threads
- Tapping or Thread Milling for internal threads
Throughout the machining process, dimensions are monitored to ensure they meet specified tolerances.
5. Quality Control and Inspection

Once machining is complete, parts go through quality inspection using tools like calipers, micrometers, CMMs (Coordinate Measuring Machines), and thread gauges.
Measurements are verified against the original drawing to ensure:
- Dimensional accuracy
- Surface finish requirements
- Tolerance compliance
📋 QC reports or inspection certificates can be provided upon request.
6. Finishing Processes (If Required)
Depending on the application, additional surface finishing steps may be required, such as:
- Anodizing
- Sandblasting
- Powder coating
- Electropolishing
- Deburring and edge smoothing
These not only improve aesthetics but also enhance corrosion resistance and functionality.
7. Packaging and Delivery
Finally, the parts are cleaned, securely packed (especially for optical or delicate components), and shipped according to client requirements. Some manufacturers also offer:
- Custom labeling
- Cleanroom-ready packaging
- Lot tracking and serial marking
✅ Why This Workflow Matters
A smooth and well-controlled CNC machining workflow ensures:
- Shorter lead times
- Fewer quality issues
- Cost efficiency
- Repeatability across batches
At STCNC Machining, we follow strict process control from CAD to component, ensuring each part is delivered with precision, on time, and to your exact specifications.
📩 Need Help with Your Next CNC Project?
Whether you’re prototyping or scaling into full production, our team is here to guide you through every step of the CNC machining process.
👉 Request a free quote today and turn your design into a finished component — fast and accurately.
In the world of precision manufacturing, CNC machining stands out as a reliable method for transforming digital designs into real-world components. But what exactly happens between a CAD file upload and the delivery of a finished part?
In this article, we’ll walk through the complete CNC machining workflow — step by step — so you understand how your custom parts are made with accuracy, consistency, and care.
1. CAD Design – The Foundation of Precision
Every CNC project starts with a CAD (Computer-Aided Design) model. This 3D file defines the geometry, dimensions, features, and tolerances of the part. It serves as the blueprint for the entire manufacturing process.
Common file formats: .STEP, .IGES, .STP, or .SolidWorks.
💡 Tip: A well-prepared CAD model reduces errors and machining time.
2. CAM Programming – Translating Design into Toolpaths
Once the CAD file is received, it is imported into CAM (Computer-Aided Manufacturing) software, which generates the toolpaths the CNC machine will follow.
The CAM process involves:
- Tool selection (e.g. end mills, drills)
- Cutting strategies (contour, pocketing, drilling)
- Speed & feed optimization
- Simulation to detect collisions or tool errors
The output is G-code — the machine-readable language used to drive CNC equipment.
3. Material Selection and Preparation
The correct raw material (metal, plastic, or composite) is selected based on the drawing specifications. It is cut to size and securely mounted to the machine using fixtures or vises.
Common materials:
- Aluminum 6061/7075
- Stainless steel 304/316
- Brass, Copper
- PEEK, Delrin, Nylon
4. CNC Machining – Turning Designs into Reality
With the program ready and the material in place, the CNC machine gets to work. Depending on the part, operations may include:
- Milling (3-axis or 5-axis) for complex shapes
- Turning for cylindrical components
- Drilling for holes or threads
- Tapping or Thread Milling for internal threads
Throughout the machining process, dimensions are monitored to ensure they meet specified tolerances.
5. Quality Control and Inspection
Once machining is complete, parts go through quality inspection using tools like calipers, micrometers, CMMs (Coordinate Measuring Machines), and thread gauges.
Measurements are verified against the original drawing to ensure:
- Dimensional accuracy
- Surface finish requirements
- Tolerance compliance
📋 QC reports or inspection certificates can be provided upon request.
6. Finishing Processes (If Required)
Depending on the application, additional surface finishing steps may be required, such as:
- Anodizing
- Sandblasting
- Powder coating
- Electropolishing
- Deburring and edge smoothing
These not only improve aesthetics but also enhance corrosion resistance and functionality.
7. Packaging and Delivery
Finally, the parts are cleaned, securely packed (especially for optical or delicate components), and shipped according to client requirements. Some manufacturers also offer:
- Custom labeling
- Cleanroom-ready packaging
- Lot tracking and serial marking
✅ Why This Workflow Matters
A smooth and well-controlled CNC machining workflow ensures:
- Shorter lead times
- Fewer quality issues
- Cost efficiency
- Repeatability across batches
At STCNC Machining, we follow strict process control from CAD to component, ensuring each part is delivered with precision, on time, and to your exact specifications.
📩 Need Help with Your Next CNC Project?
Whether you’re prototyping or scaling into full production, our team is here to guide you through every step of the CNC machining process.
👉 Request a free quote today and turn your design into a finished component — fast and accurately.
